


Yorne Dik
22 mei 2026
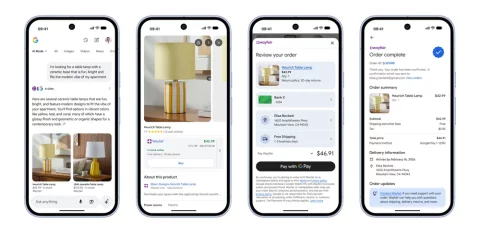
Op Google I/O 2026 presenteerde Google de Universal Cart. Een intelligente winkelwagen die werkt vanuit Search, Gemini, YouTube en…
22 mei 2026
5 minuten lezen